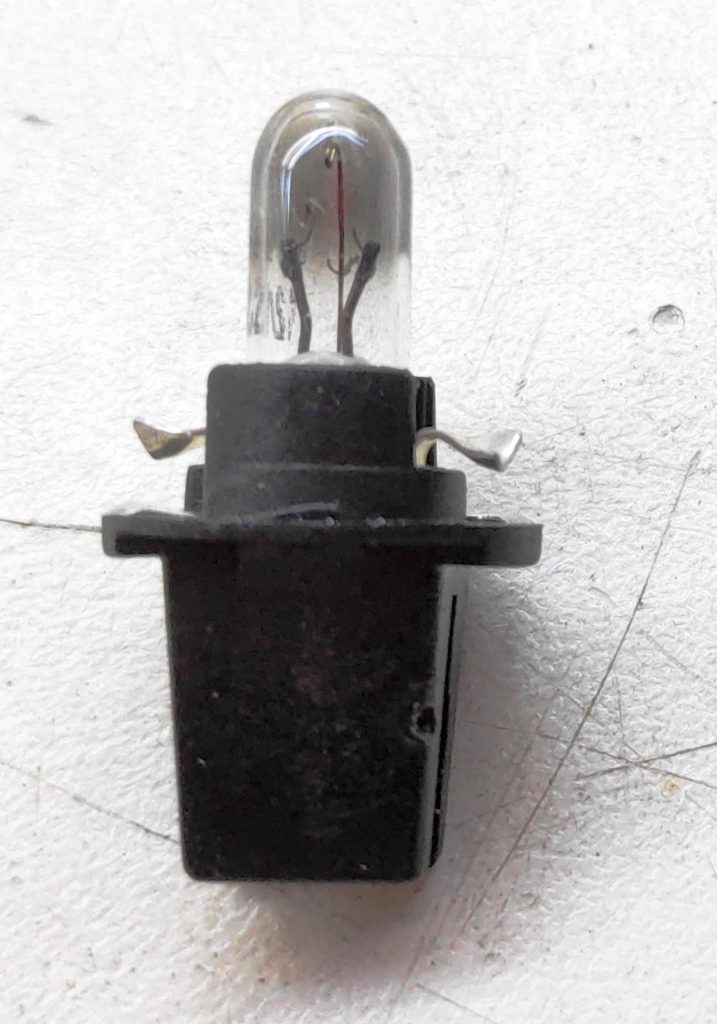
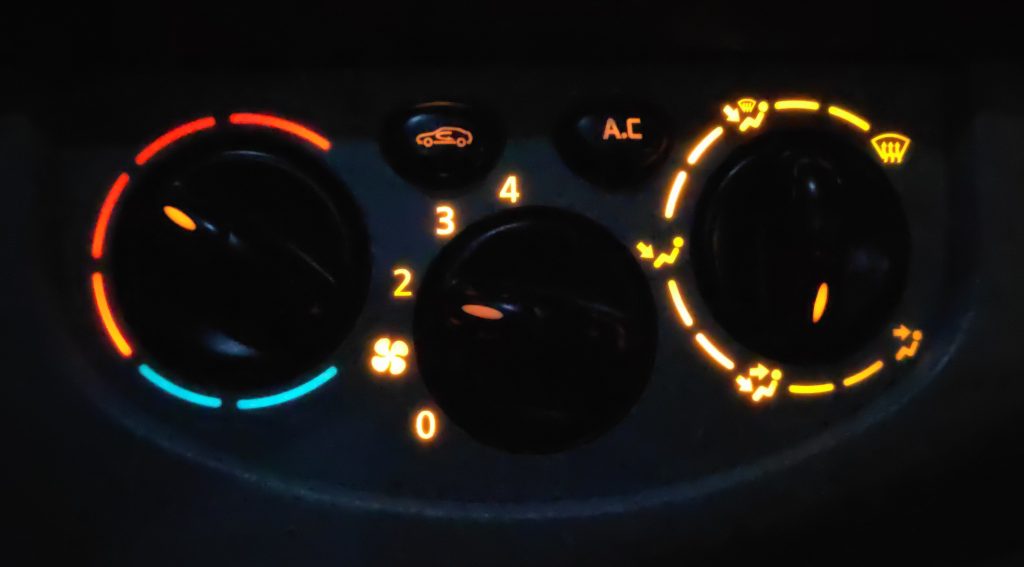
My Opel Vivaro had a broken dashboard light for the back-light of the ventilation and heating controls. The right side was OK but the left side was dark:

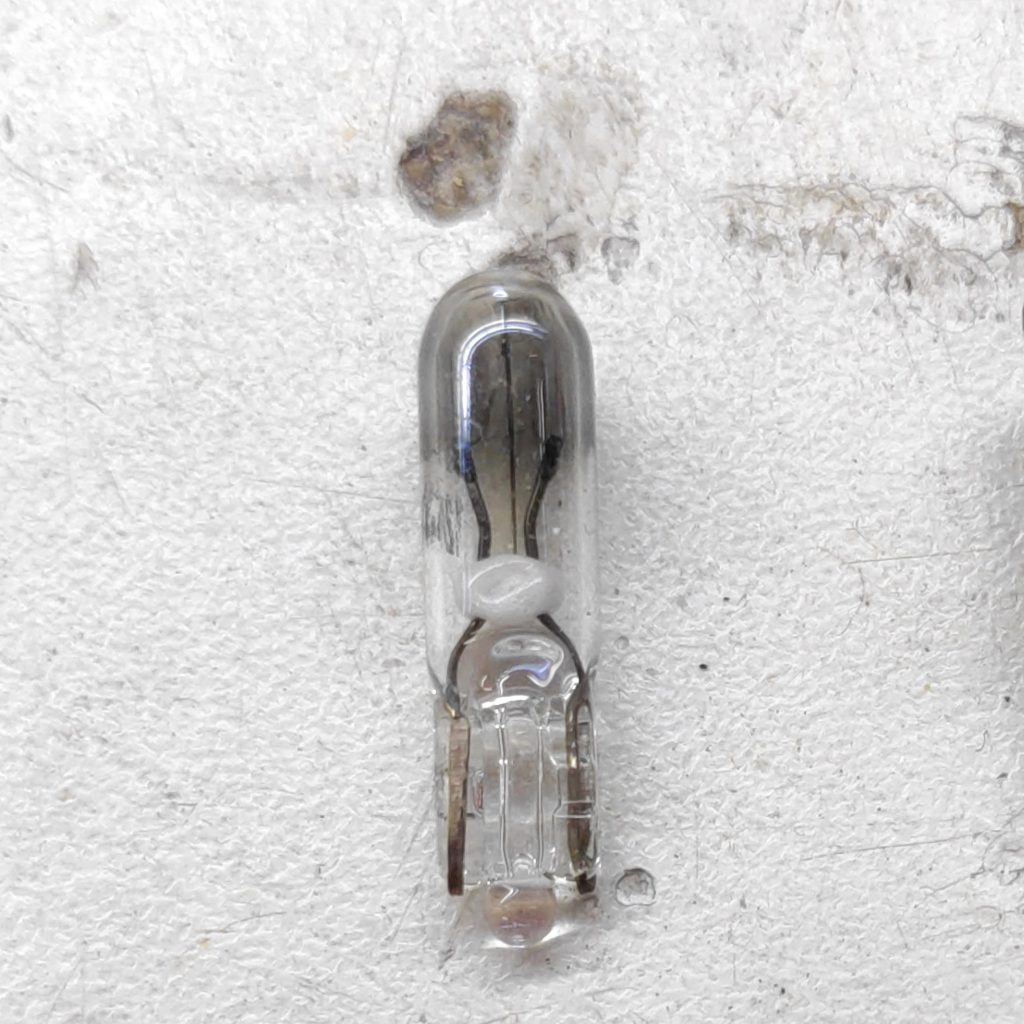
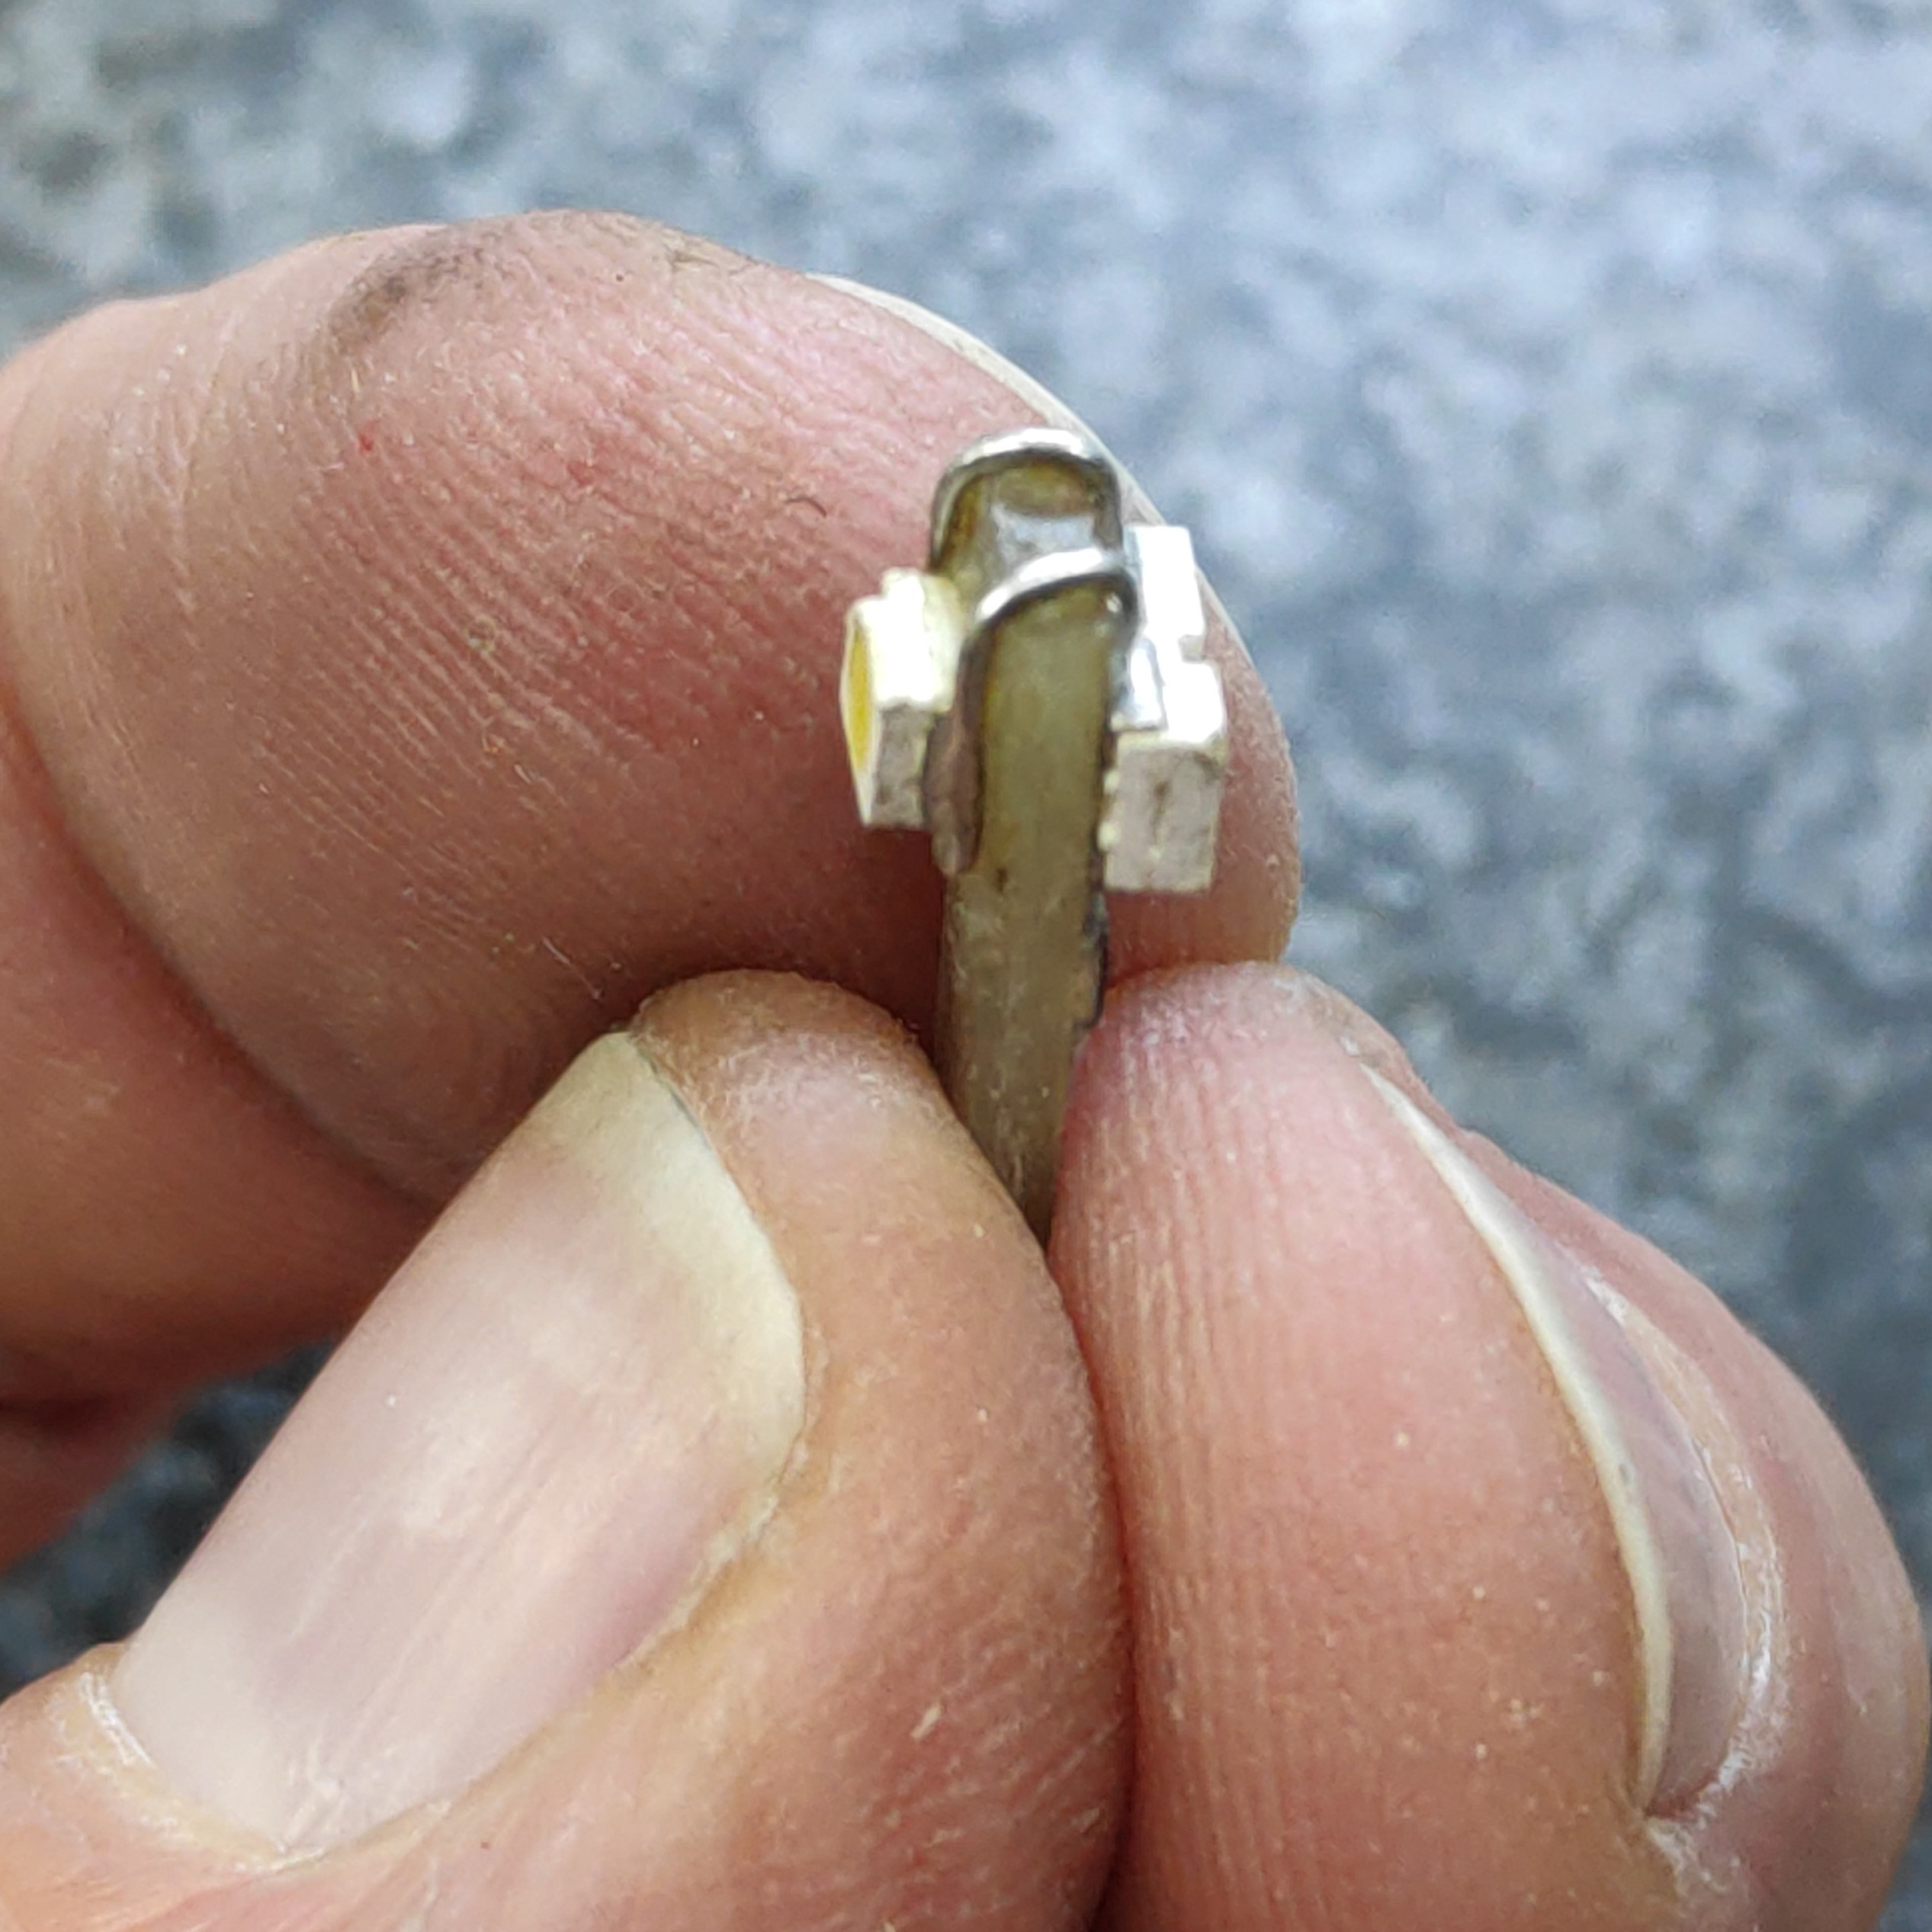
The incandescent bulbs had a socket type and holder I had not seen before:
We will replace it with a DIY LED bulb:
Let’s start with a simple schematic… Three white LED’s with a 330 ohms series resistor will provide enough light and the LED’s will not be over driven by the car’s 12V.
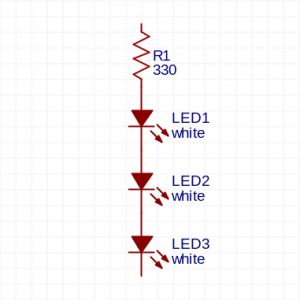
I used warm white 2.7mm x 3.5mm SMD LED’s, the resistor is a 330 ohms 0805 size SMD resistor.
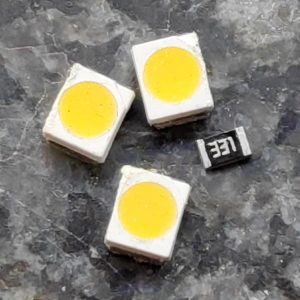
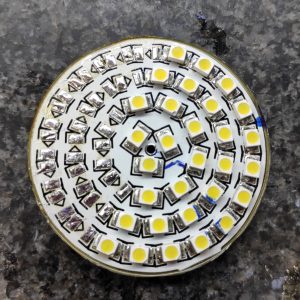
I salvaged the white SMD LEDs from a broken GU10 LED bulb:
Cut a 16mm by 5mm piece of single sided copper-clad PCB material and cut away 1mm isolation slots with a knife:
After a bit of sanding (600 grit), the result should look like this:
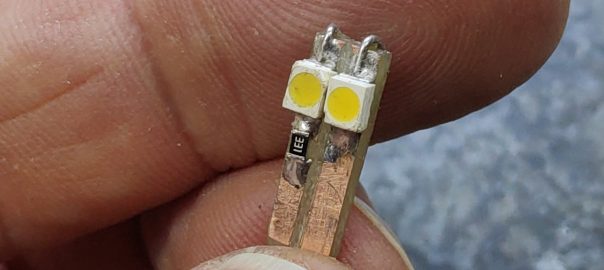
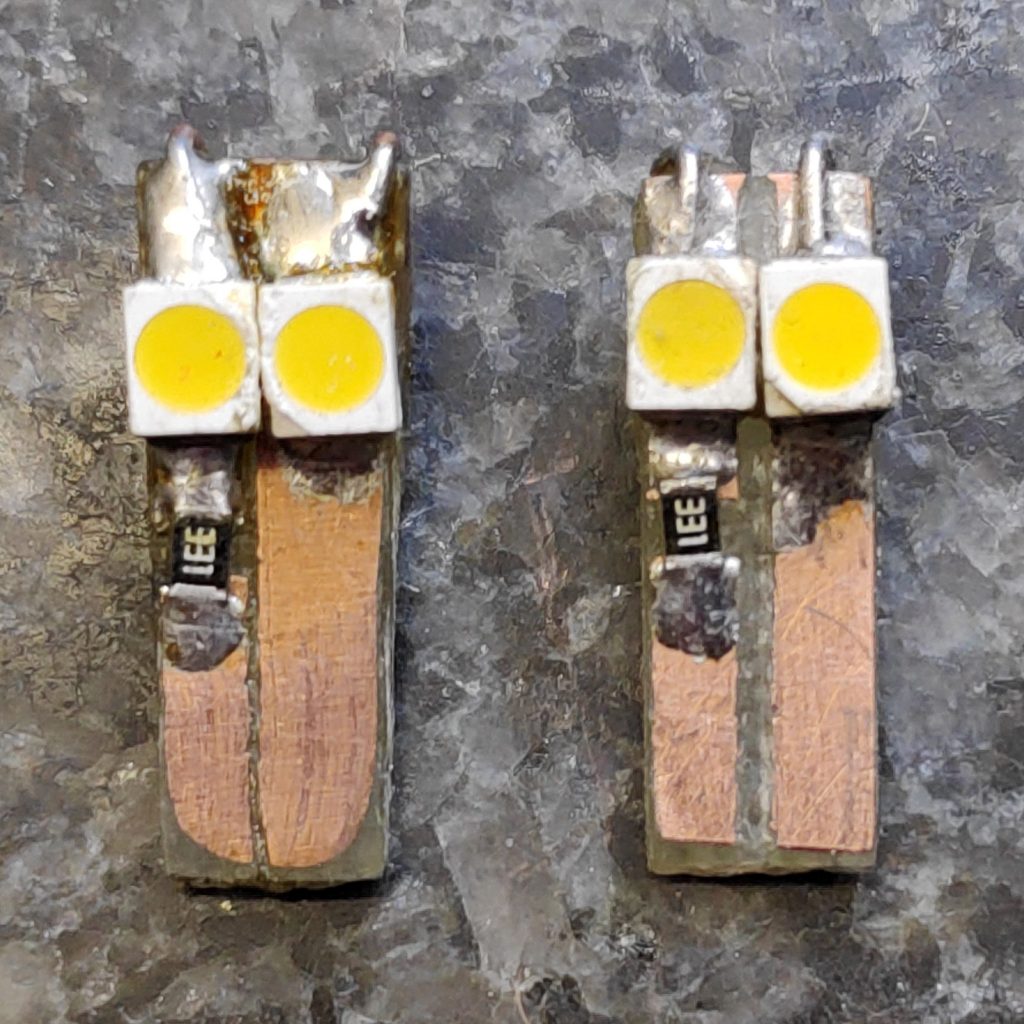
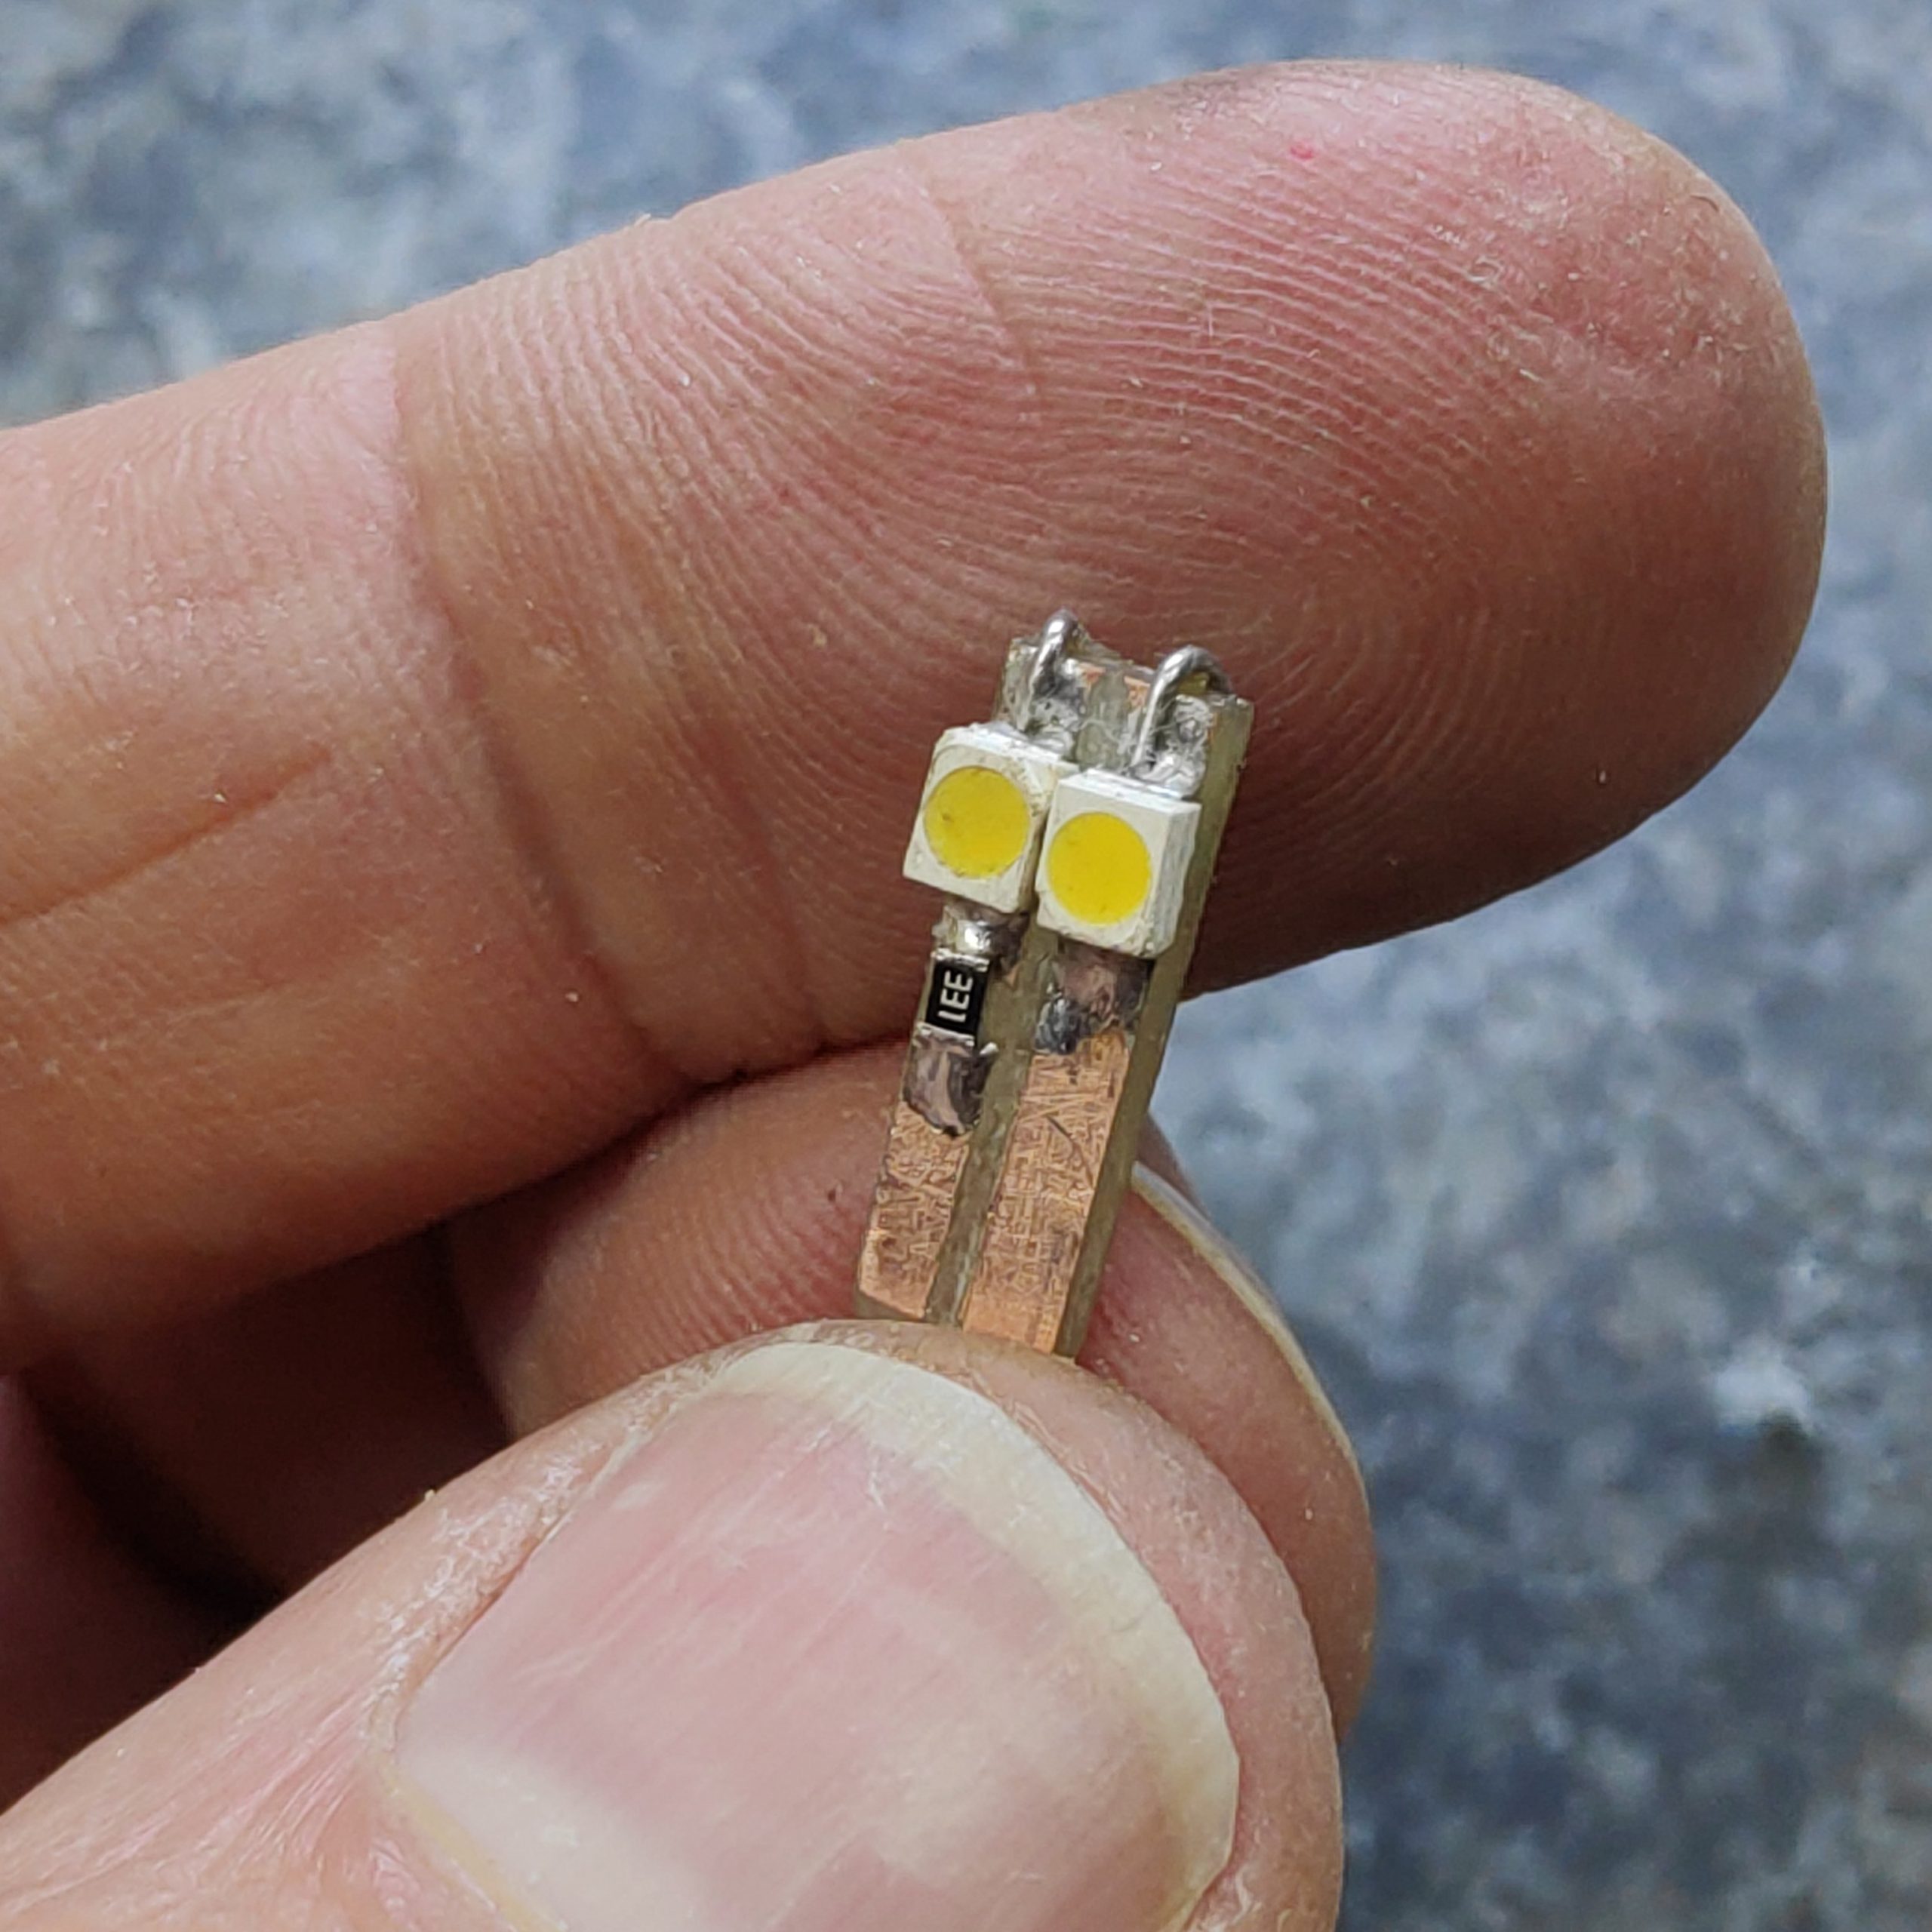
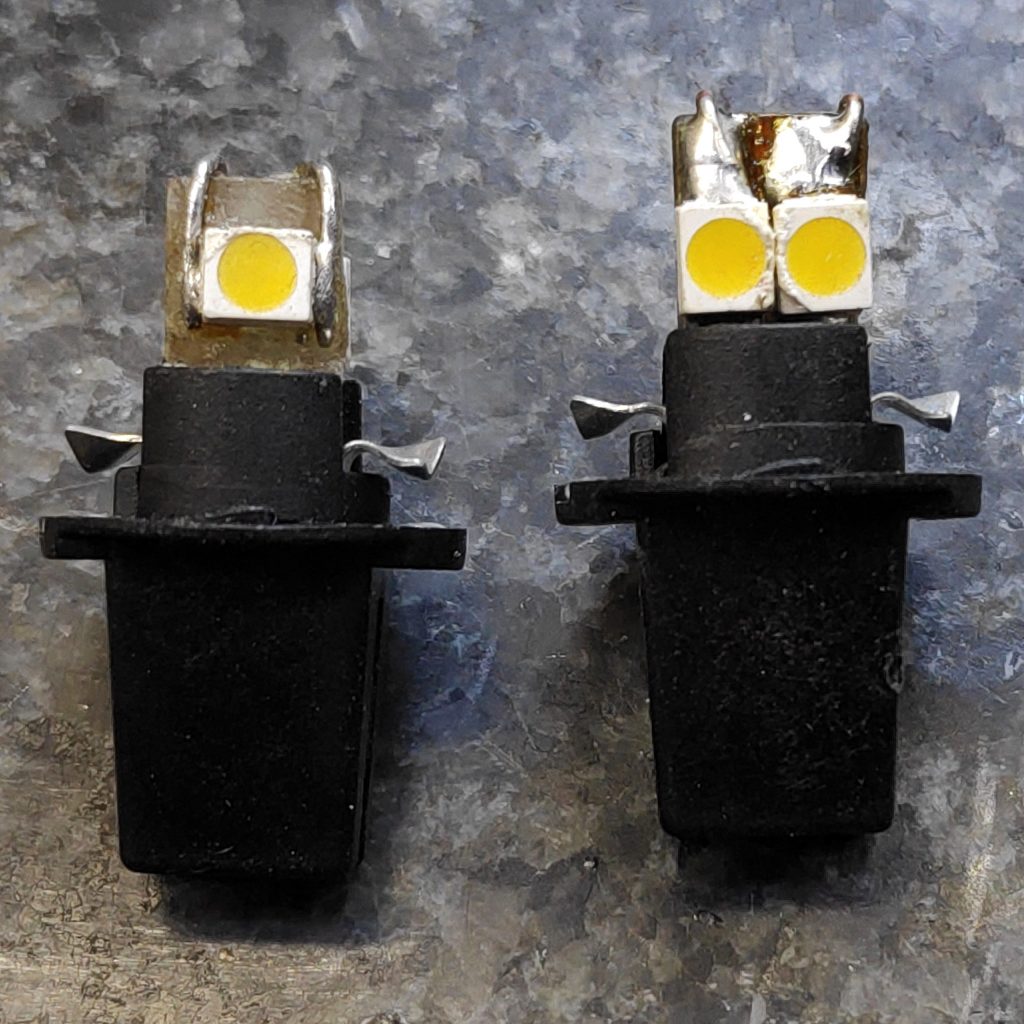
Solder two LEDs and the resistor on the copper side. Make sure the polarity of one LED is facing “up” and the other one is facing down:

Glue the remaining LED on the back side of the PCB and connect it with small wires to the other LED’s. Make sure the polarity of the LED’s is right.
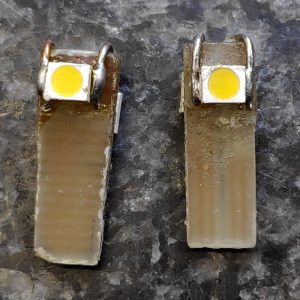
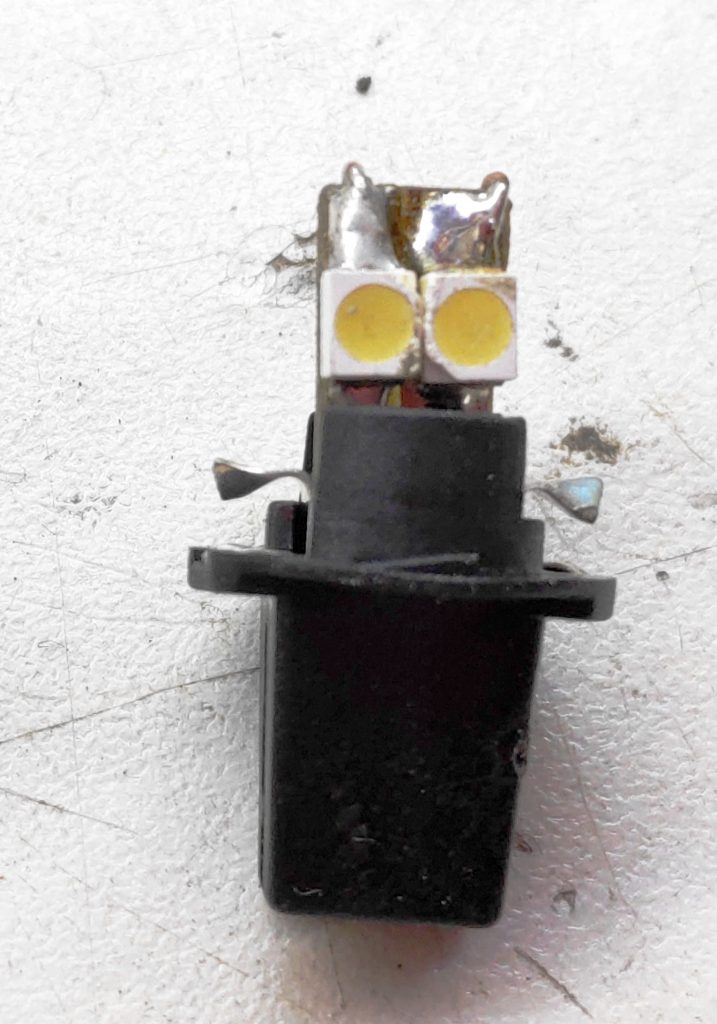
The result should look like this:
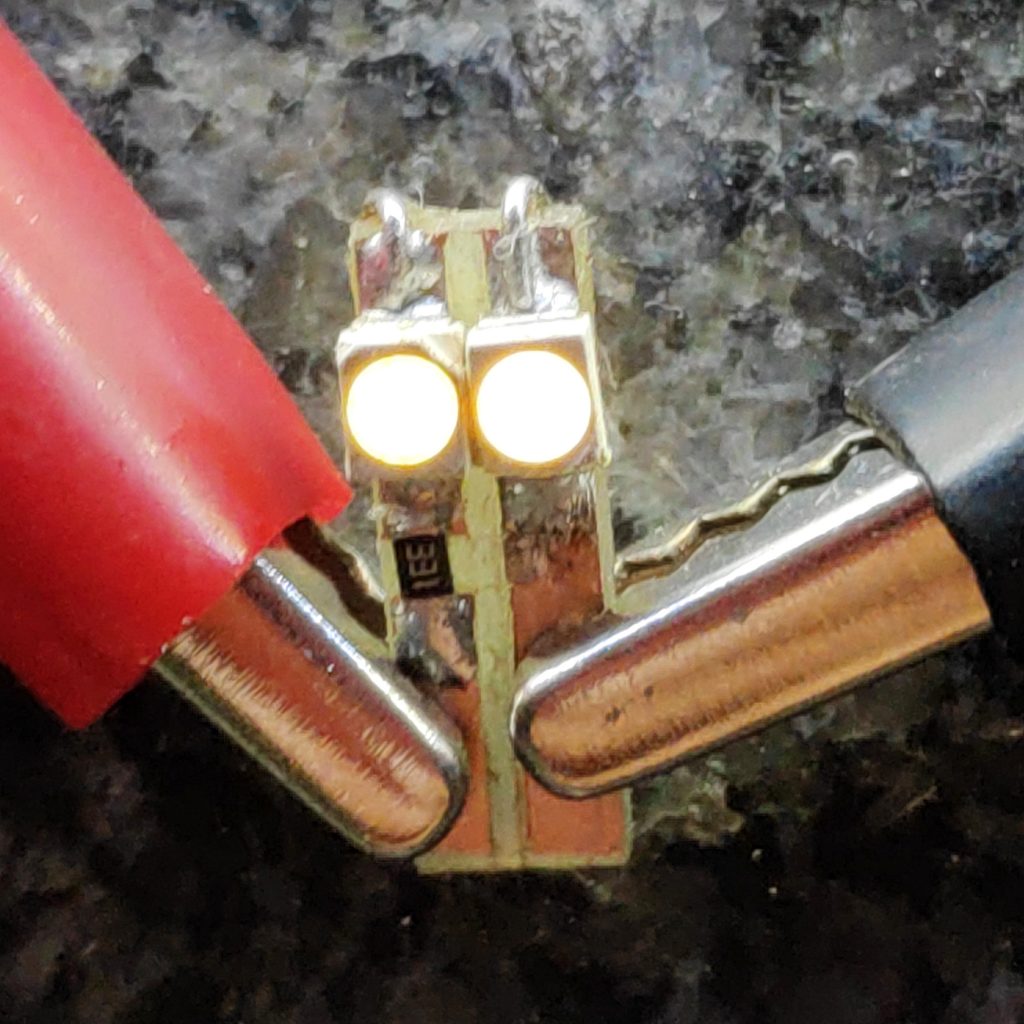
Test the bulb before fitting it in the car. When fitting the bulbs in the car, make sure to turn off the ignition while inserting the new bulbs. When the bulb does not light, rotate it 180 degrees (while ignition is turned off) and try again.
Looks better now:
Repaired one of the LEDs today. I replace 1 of the 3 LEDs and also the 330 ohm resistor.