Seeed Studio’s give-away
I am one of the lucky five who have received an EL shield from Seeed Studio’s first monthly give-away. I applied for the give-away because I have never worked with EL lighting before and I wanted to test if I could illuminate my bicycle with it. This post has a small introduction on EL lighting, how I used it to light my bicycle and finally a review of the Seeed Studio EL shield.
Electrolumi-what?

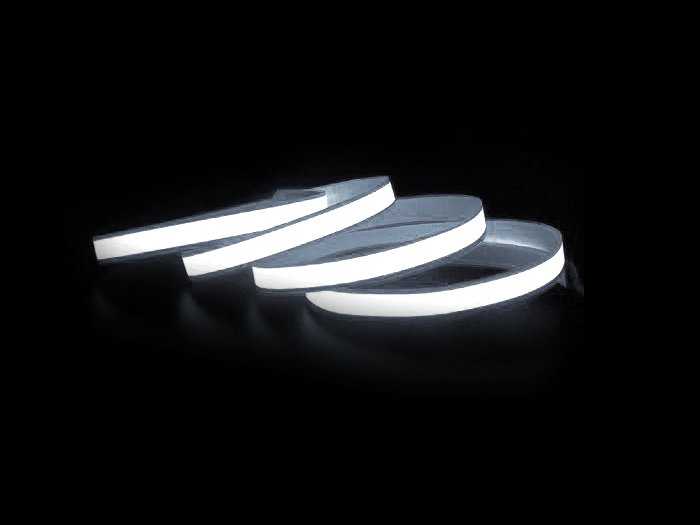
EL stands for Electroluminescence, stuff that outputs light when an electrical field is applied. In contrast to incandescent lamps and LEDs, EL tape and wire are uniformly lit up without any bright spots. EL wire, EL tape and EL panels are easily available online in different lengths and sizes. I ordered 2 lengths of 1m white EL tape and a single 3m white EL wire.

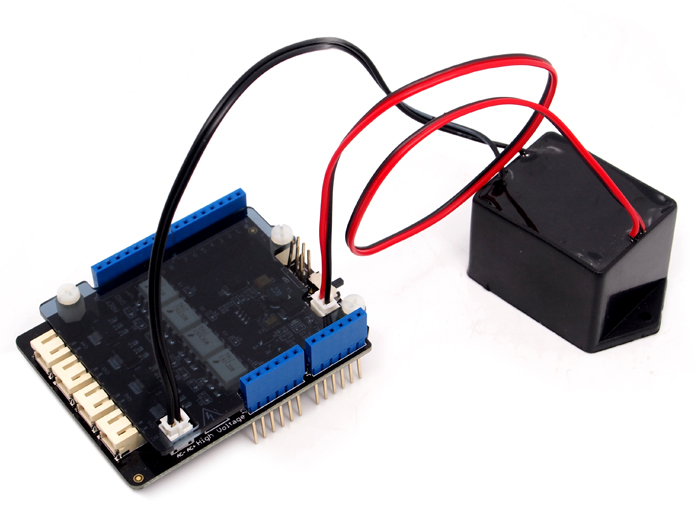
To make EL wire or tape light up, you need to apply an AC voltage of about 100V, that’s a voltage that can potentially zap you! Typically you use a ready-made EL inverter that converts a low DC voltage to the AC voltage acquired for EL lighting. The Robust EL Inverter sold by Seeed Studio can drive 15m of EL wire and outputs about 100V AC when given 5 V DC. Its electronics are solidly encased and potted and it only has two connections: 5V DC in (red and black wires) and 100V AC out (black wires).
The bicycle illumination project
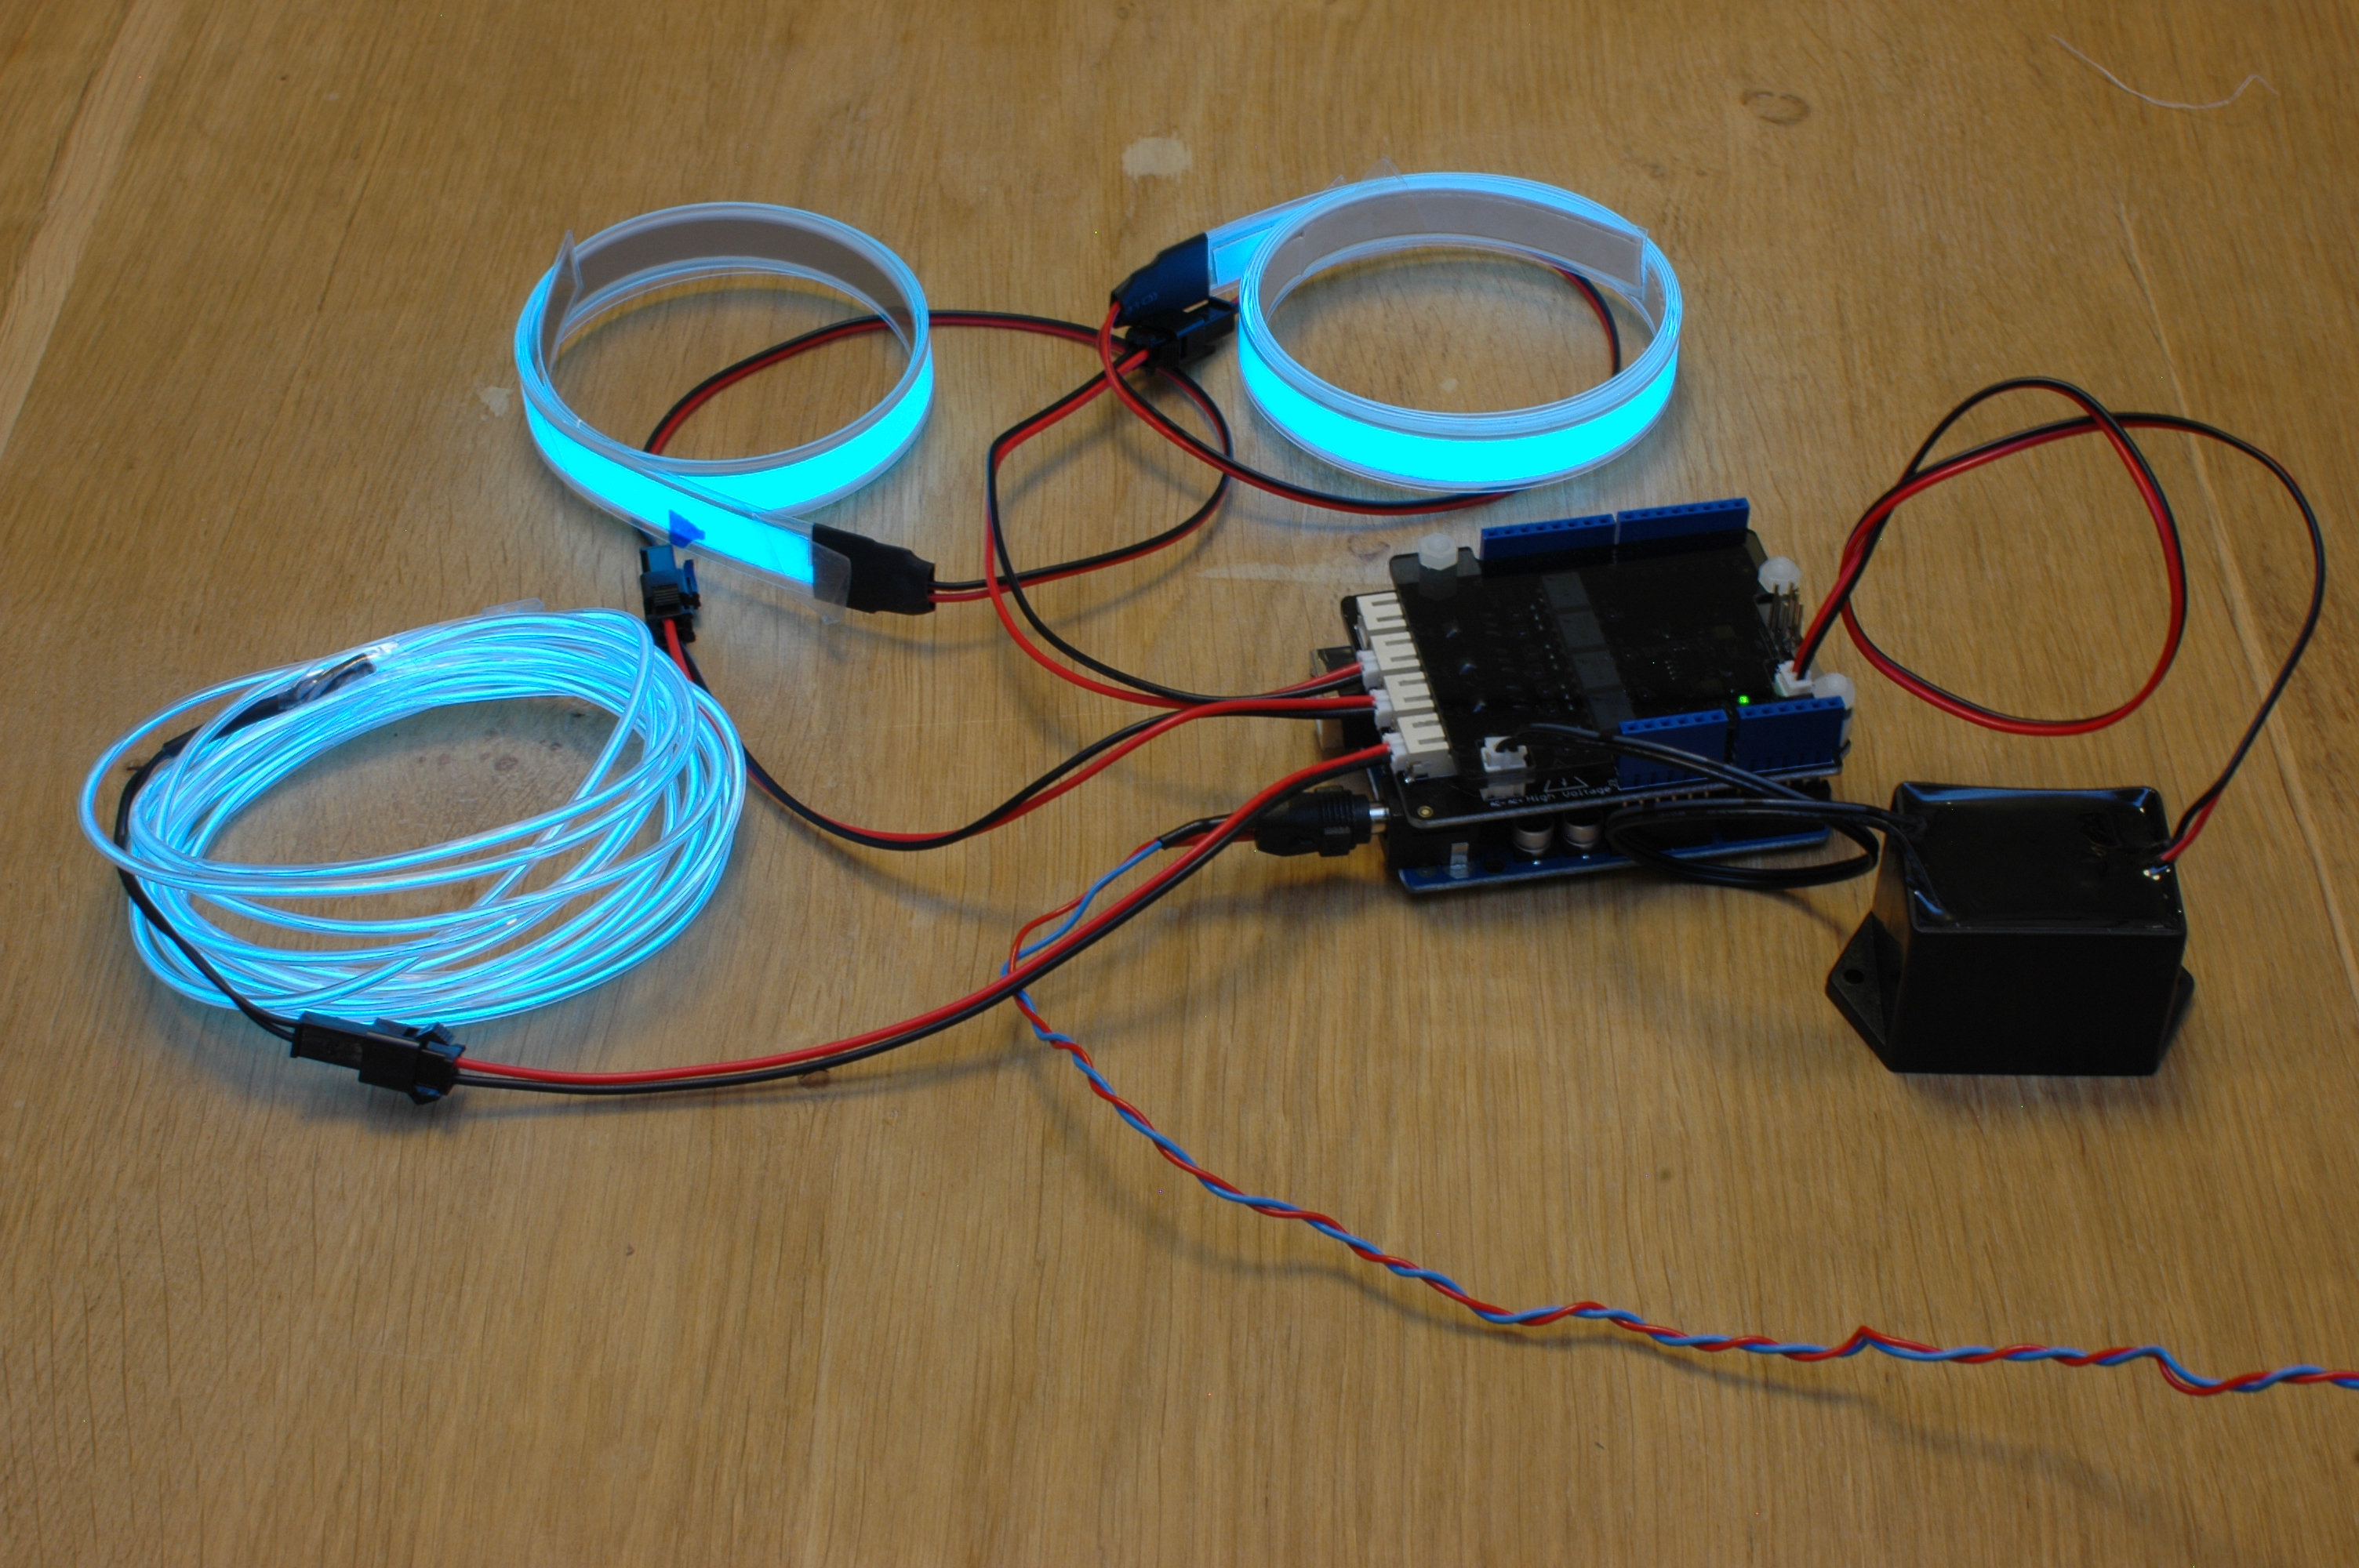
I wanted to light the contours of my bicycle to make it stand out more visibly in the dark. So I attached both 1m EL tapes to either side of my bicycle triangle with some adhesive tape and I used the 3m EL wire to mark the back of the bike. The EL wire and tape are provided with a 2.5mm pitch male JST connector connector that will not fit on the male JST2.0 connectors of the the Seeed Studio EL shield. Luckily they shipped 4 female JST to female JST2.0 cables with the EL shield, so connecting the strips and wire is nothing but plug-and-play, no soldering required, bummer ;-). I plugged the shield into an Arduino UNO and loaded it with a simple sketch. The sketch blinks the two EL strips and lets the EL wire light up continuously.
I did not want to use batteries for power, so I attached the Arduino with a USB cable to my “bicycle power system”. Nothing fancy, just a watertight box that rectifies the AC coming from the front hub dynamo, a big capacitor for stabilizing and a 12VDC-to-5VDC converter. The DC-to-DC converter is nothing fancy either, its a car cigarette USB adapter, 12V in, 5V out.
The video below has some footage of my EL illuminated bicycle and I explain the setup a bit too:
EL Shield review
It’s very easy to get started with the Seeed Studio EL Shield: plug it into an Arduino, connect some EL wire, panels or tape and read the Wiki article, it’s very comprehensive and you can even find some example code there. The shield hardware looks very professional and the acrylic cover protects your fingers from accidentally getting zapped.

Although the wiki is very complete, I suggest that Seeed Studio engraves the Arduino pin numbers in the acrylic cover next to the 4 outputs. That way, you could even start without reading the wiki. I’m a very big fan of self-explanatory hardware, and it saves you from headaches when the interwebs are down ;-D
The shield has a small switch to turn off the EL inverter, that’s a good idea because -even when no outputs are enabled- the inverter adds about 170mA to the 15mA current draw of the EL shield. Unfortunately the protruding shaft of the mini switch on my shield broke off. Maybe Seeed Studio can replace the physical switch with a transistor or MOSFET so you could turn the inverter on and off with one of the Arduino digital I/O pins.
[ EDIT 2012-11-29 ]
Joost asked about the power consumption. Well, let’s find out, here are some measurements I just took:
| Test | Voltage | Total Current | Total power use |
|---|---|---|---|
| Arduino uno only | 9.0V | 55 mA | 0.50W |
| + Seeed Studio EL Shield, no inverter | 9.0V | 67mA (+12mA) | 0.60W (+0.1W) |
| + EL Shield, inverter on, outputs off | 9.0V | 178mA (+111mA) | 1.60W (+1.0W) |
| + 1 output with 3m white EL wire | 9.0V | 230mA (+52mA) | 2.07W (+0.4W) |
| + 1m white EL tape | 9.0V | 440mA (+210mA) | 3.96W (+1.89W) |
| + 1m white EL tape extra | 9.0V | 580mA (+140mA) | 5.22W (+1.26W) |
You can see that this does consume some power! Keep in mind that the inverter has a considerable internal resistance. If I only connect 1 of the 1m EL tapes, current draw rises by 280mA @9V. When I only connect the other 1m EL tape, that one makes the current draw rise by 250mA. When I hook up both 1m EL tapes, the current draw only rises 425mA, not 280+250=530mA.
[ EDIT END ]
When I had two tapes happily flickering, I noticed that another EL wire that was supposed to be always on dimmed a bit when the tapes lit up. The EL inverter AC voltage output probably sags a bit due to the relatively high internal resistance. Don’t get me wrong, that internal resistance is good, because it limits the AC current and makes the inverter more safe just in case you would accidentally touch its output. Just something to take into account.
When I tried PWM on outputs 5 and 6 of my Arduino uno to change the brightness I found that at some PWM levels the light output can be a bit flickery, so you may want to experiment to find the right values for analogWrite.
These minor issues set aside, the Seeed Studio EL Shield is a professional and complete shield that easily gets you started with EL lighting. I will certainly do other projects with this shield, and if I do, you might find them in a future post on this blog.
Making the video and this review was a first for me so I hope you can forgive me any errors I made. I you do find some, or you have other remarks, please leave a comment below.
2 thoughts on “Seeed Studio EL Shield Review”